All Posts

At university, many courses require specific software or setups that can only run on a Windows machine, or require specific components, like an NVIDIA GPU. As an avid Mac user, this can be quite frustrating as a mac, particularly a silicon mac, cannot be used locally. While most courses do provide computer lab access or RDP access, often these lab computers come with a lot of restrictions, and there isn’t a guaranteed chance that the computer you’re using will be the same each time you log in. To work around this, I’ve previously set up an RDP client for my PC at home, which runs Windows and has an NVIDIA GPU (albeit, not a fantastic one) so that I can still be productive whilst at university, without needing to enter the physical lab.

To create this blog, I’ve been following this fast AI blog post, which has been great for setting up and deployment. This blog post focuses on the simplicity of updating a blog and intentionally hides the Jekyll that’s under the hood. However, sometimes you want to see your changes immediately in a testing environment instead of having to wait for github to build and render your webpage.

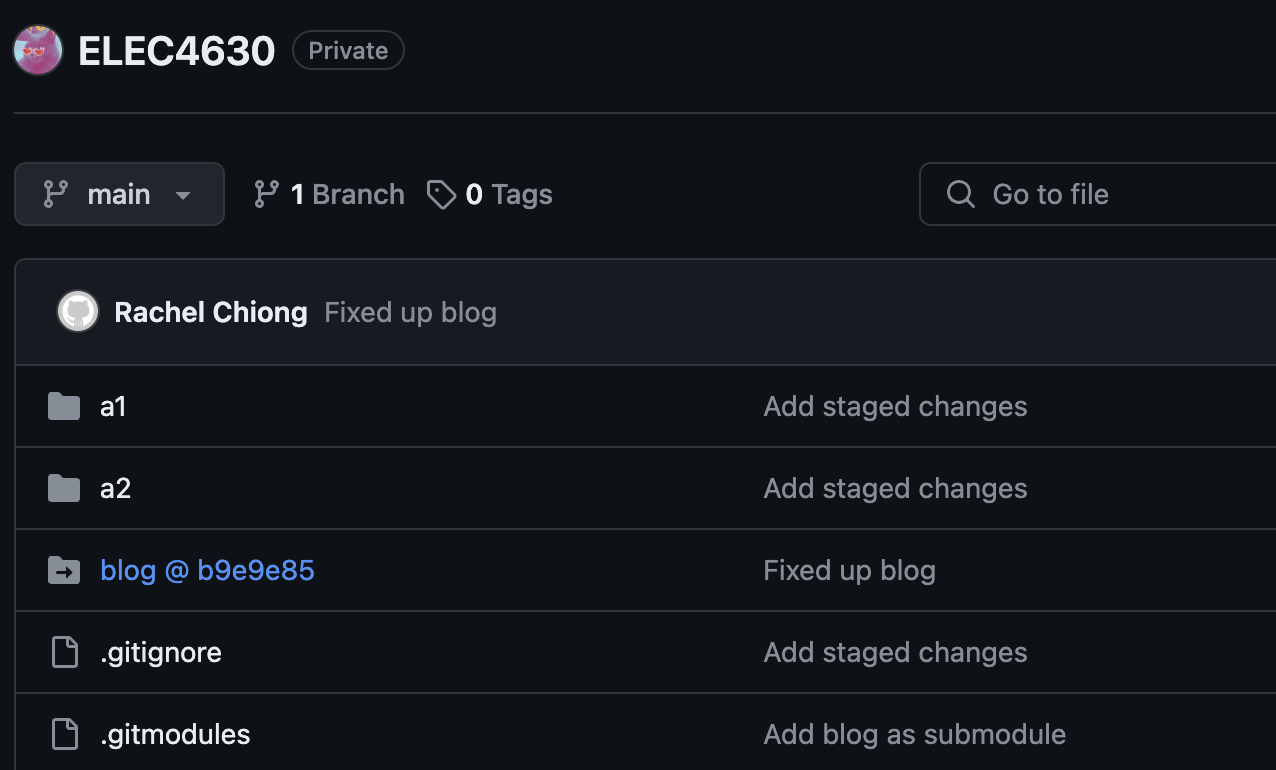
Sometimes, when working cross-project or with code that’s been cloned from elsewhere, it helps to add them as a submodule to a main repo. For example, for assignment 2 I need to write a blog (this one!), generate a fingerprint identifier GUI and train image classification models on a CPU and GPU, all of which are in different repos upon set up.