Jekyll and Hide: How to work on your fastAI blog locally before deploying
To create this blog, I’ve been following this fast AI blog post, which has been great for setting up and deployment. This blog post focuses on the simplicity of updating a blog and intentionally hides the Jekyll that’s under the hood. However, sometimes you want to see your changes immediately in a testing environment instead of having to wait for github to build and render your webpage.
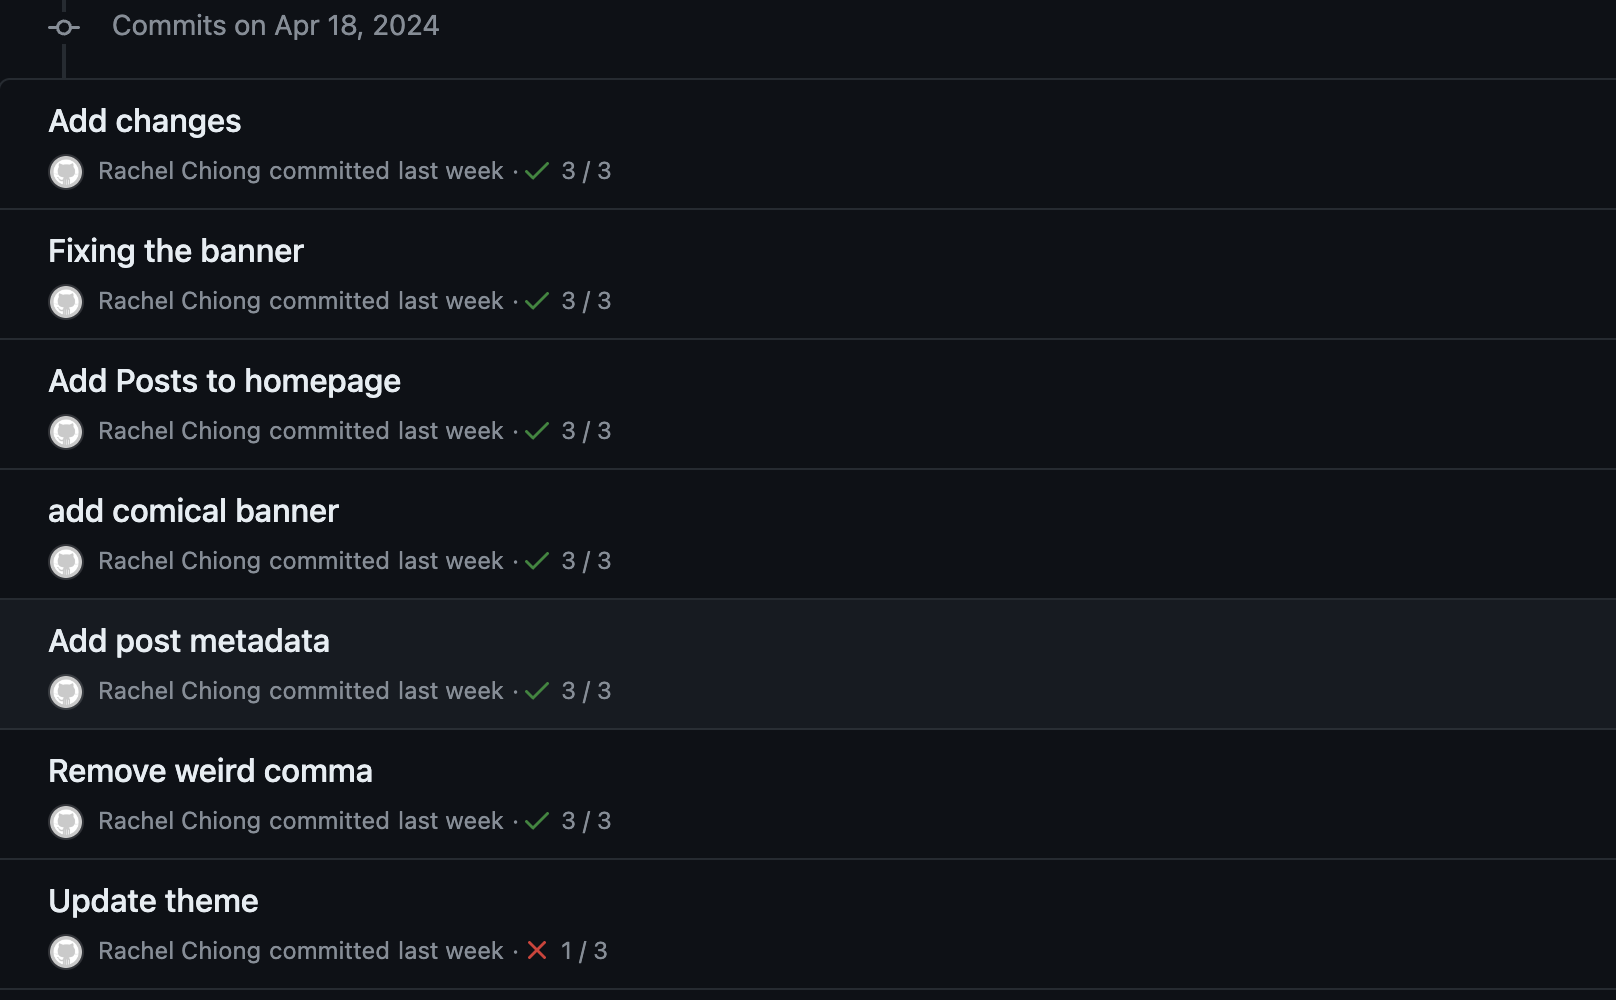
Otherwise, you’ll end up with a commit history similar to this:

In other words, you may want to “hide” your testing and changes before deployment.
0. Follow the fast AI blog post to set up your blog
You can view the blog post here.
1. Install the Jekyll bundler
Get into your blog repo and install jekyll (you’ll need to have ruby installed first).
bundle install
You will then see a Gemfile in the directory.
2. Create a Drafts Folder
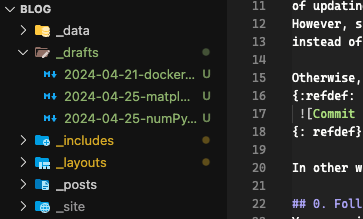
Create a folder called _drafts at the same level as the _posts folder.
Here, you can add your drafts, written and formatted just like how you would
write a post. This provides a good storage space to put work-in-progress blog posts
which can be committed to your repo without publishing.

3. Run the test server
Now that the Gemfile exists and you have a draft ready to go, you can run it locally as a test server by using:
bundle exec jekyll serve --drafts
Then, to view your blog, in your web-browser access:
http://127.0.0.1:4000
Everytime save a change to your blog, you can reload the test server webpage and your changes should be able to be synced immediately.
When you’re happy with your post, you can just move it from the _drafts folder
to the _posts folder and publish like you normally would.